Silicone sealant ends up on windows more often than you'd expect. Builders apply it around frames and gaps, and even careful tradespeople occasionally get it on the glass. Once it cures, it won't wipe off with a cloth. The wrong removal technique can scratch the glass or leave a greasy residue that's harder to clean than the silicone itself. Here's the right approach.
Why Silicone Is Tricky to Remove
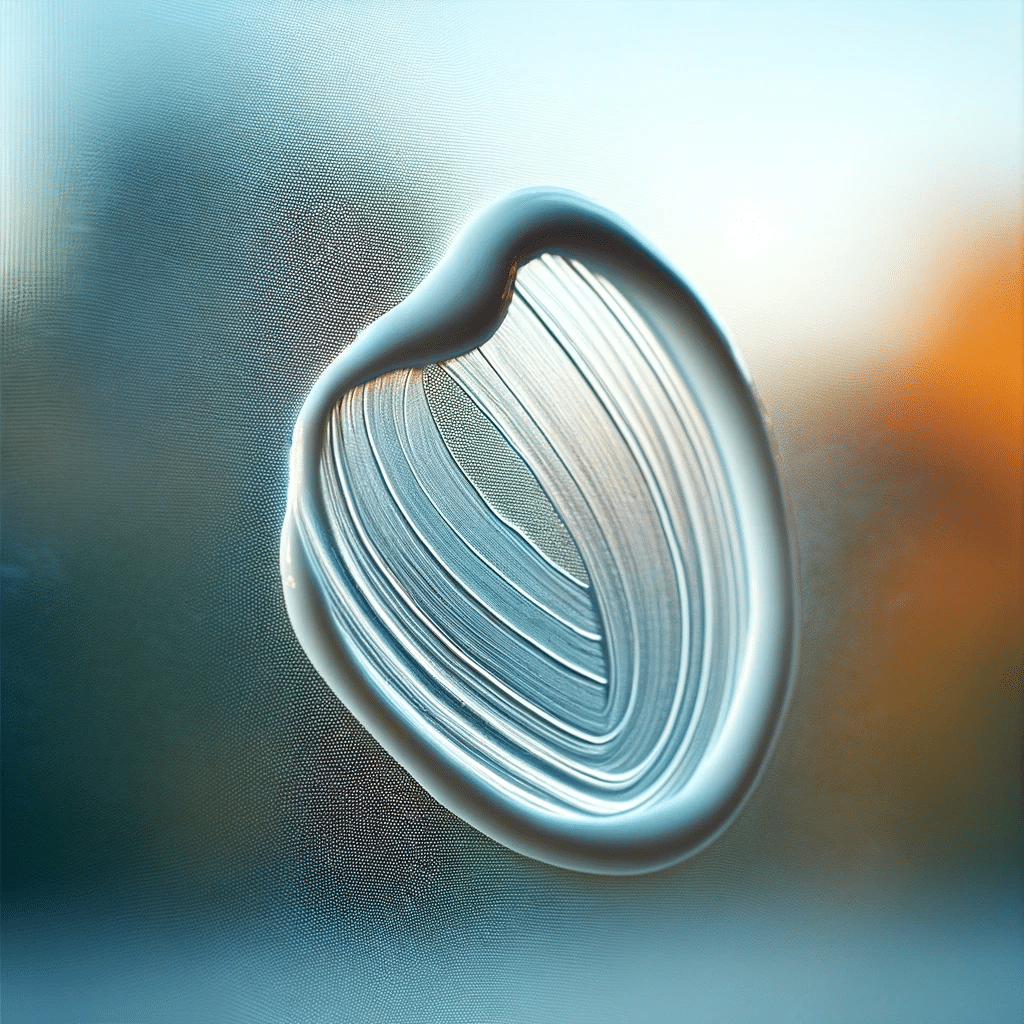
Silicone sealant bonds to glass surfaces and cures into a flexible, waterproof solid. It doesn't dissolve in water or standard cleaning products. The key to removing it is mechanical action, working carefully to peel or scrape it free without dragging debris across the glass face.
Tools You'll Need
Plastic scraper or razor blade scraper — A plastic scraper is safest for tempered or tinted glass. A single-edge razor in a holder can be used on standard float glass but needs a careful hand. Never drag a metal blade across dry glass.
Wire wool grade 0000 — Ultra-fine steel wool removes silicone residue without scratching when used wet. Grade 0000 is essential; coarser grades will mark the glass.
Magic eraser — A melamine foam pad helps lift the final traces of residue after the bulk silicone is gone.
Microfiber cloths — For the final clean.
Surgical spirit or isopropyl alcohol — Used with the wire wool to dissolve the silicone residue that remains after scraping.
Step-by-Step Removal
Step 1: Soften the silicone. Fill a spray bottle with warm soapy water and wet the silicone thoroughly. Let it sit for a minute. This won't dissolve it, but it lubricates the surface and reduces the risk of dragging grit across the glass during scraping.
Step 2: Remove the bulk silicone. Using your scraper, work at a low angle (around 30 degrees) and push the scraper under the edge of the silicone. Work slowly and deliberately. The goal is to peel it away in strips rather than chip at it. Keep the glass wet throughout. If using a razor blade, never push it dry.
Step 3: Treat the residue with steel wool. Dampen the 0000 wire wool with surgical spirit and work it in small circles over the remaining smear. The combination of a mild solvent and gentle abrasion lifts the last traces of silicone. Re-wet frequently.
Step 4: Polish with a magic eraser. A damp magic eraser removes the faint film the wire wool leaves behind. Work lightly in circular motions.
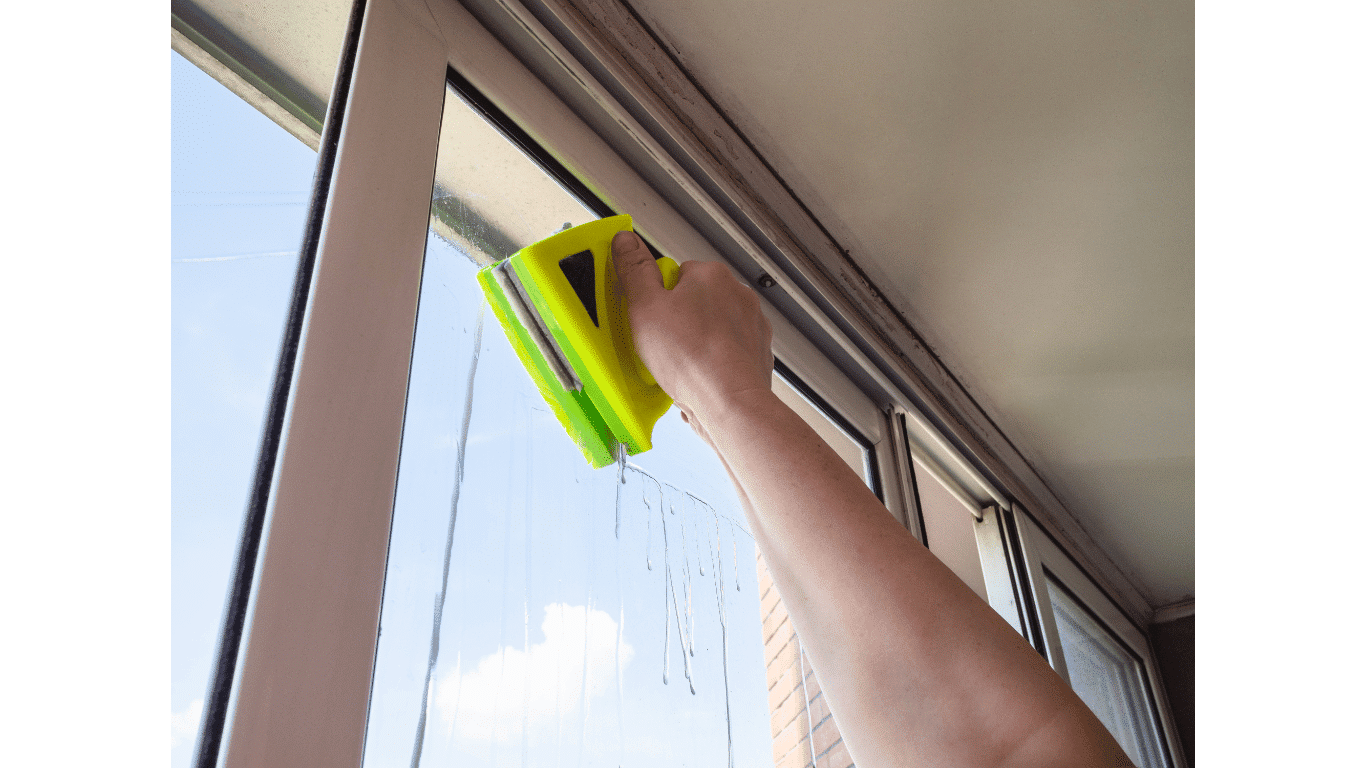
Step 5: Final clean. Clean the area with your normal window cleaning solution and finish with a squeegee or dry microfiber cloth. The glass should be completely clear.
Tips for a Clean Result
Always test in a small corner before working across the full pane. On tinted or low-e glass, avoid razor blades entirely and stick to plastic scrapers and wire wool. If the silicone has cured for months or years, it will be more brittle and may break into fragments during scraping. Collect these as you go and keep the surface wet.
If the silicone runs across a large area or sits close to the frame seal, it's worth getting a professional to assess it. Removing silicone from around the frame edge without disturbing the weatherseal takes care and experience.
For related advice on removing other stubborn materials from glass, see our post on removing hard water stains. If you'd prefer to hand the job over to us, our residential window cleaning team handles builder cleans including silicone removal.
Frequently Asked Questions
Can I use acetone to remove silicone from glass? Acetone will soften silicone but it can damage window frames, plastic seals, and painted surfaces nearby. Use surgical spirit or isopropyl alcohol instead — they're gentler on surrounding materials while still effective on the glass itself.
Will silicone damage my glass permanently? Cured silicone doesn't damage glass chemically. The risk of permanent damage comes from incorrect removal — particularly using coarse abrasives or dry metal tools. Follow the process above and the glass will be undamaged.
How do I stop silicone getting on the glass during renovation work? Masking tape applied along the frame edge before silicone application is the standard approach. Peel the tape immediately after tooling the joint, before the silicone skins over.
Ready for streak-free windows?
Brisbane's most trusted window cleaning team. Fully insured, 5-star rated, and locally owned by Darren Hoehne.